In this article we will talk about several techniques used to quality leak test the pump of a spray bottle.
Can you imagine a world without spray bottles? Neither can we. Spray bottles are used in so many applications from household items to cosmetics; they are even used in the pharma industry as a drug applicator. We usually take the functionality of spray bottles for granted because we simply pick it up and spray. Have you ever asked yourself what goes into the manufacturing process of building good spray bottles?
Spray bottles become popular in the 1960 and since then have come into every part of our lives. The manufacturing process of spray bottles has been perfected and we have fairly good spray bottles and spray pumps available. However, in order to confirm that your batch of spray bottle caps is a quality batch, some type of leak quality test has to be implemented.
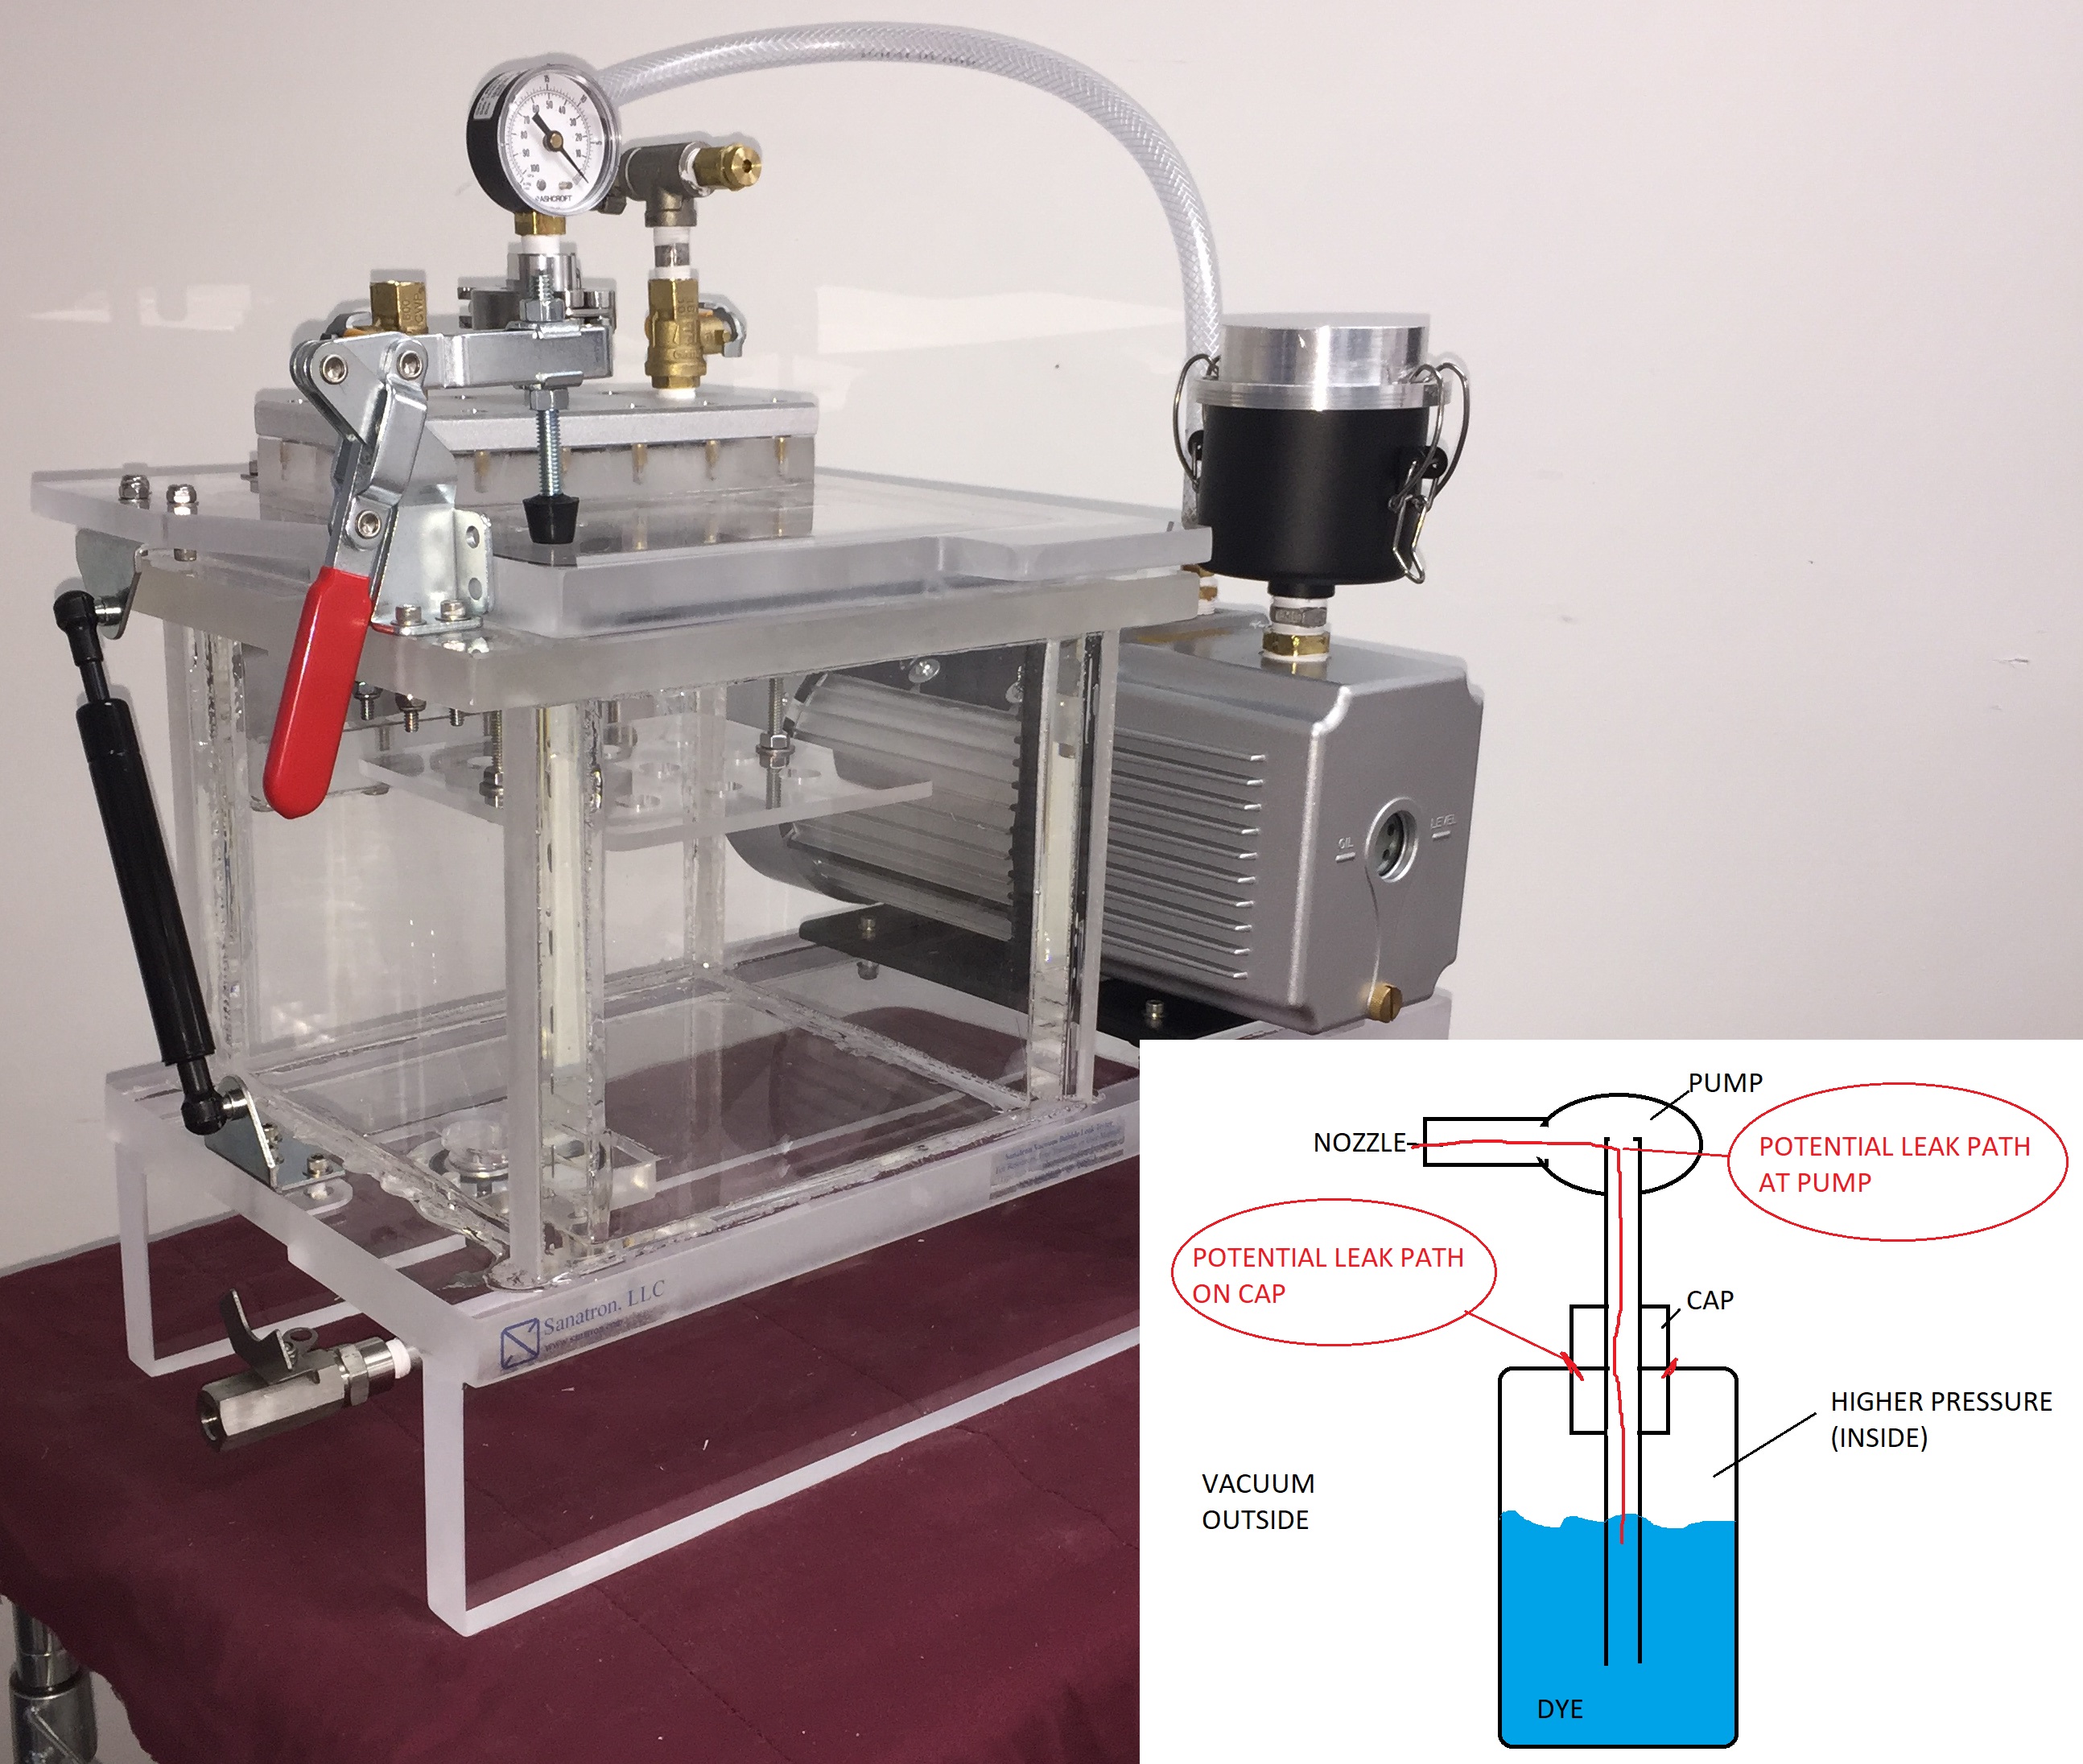
The simplest way to leak quality test the spray bottle pump is to fill the bottle with liquid dye. Make sure that the spray bottle cap lid is properly closed. Place the spray bottle into the vacuum chamber and pull a vacuum. As the vacuum increases inside the vacuum chamber, the pressure differential between the bottle inside and the outside will increase. The higher pressure will start to push the liquid through the pump. If you have a faulty or defective spray bottle pump, the dyed liquid will flow out of the bottle and you will be able to visibly detect the presence of dye outside of the bottle.
After you have completed the leak test with the bottle Standing up, turn the bottle on the side or upside down and repeat the vacuum leak quality test. If you detect the presence of dye emitting from the cap you have a leaky or faulty cap. The liquid will not be pushed through the tube and pump because air will now be present there and no leak path will be present; instead the high pressure will push the liquid through the faulty cap.
It is good practice to place white paper tissue below the bottle in order to better detect any presence of blue dye.
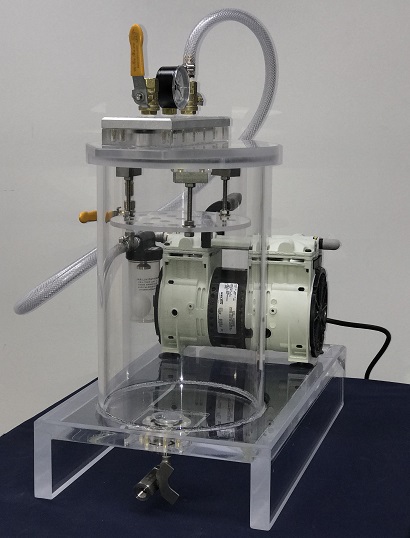
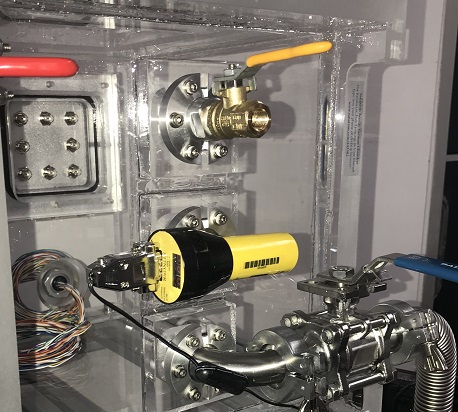
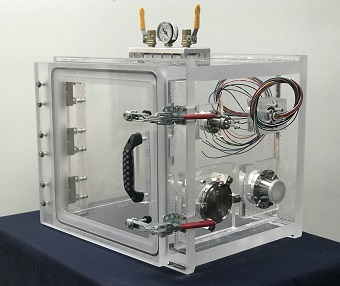
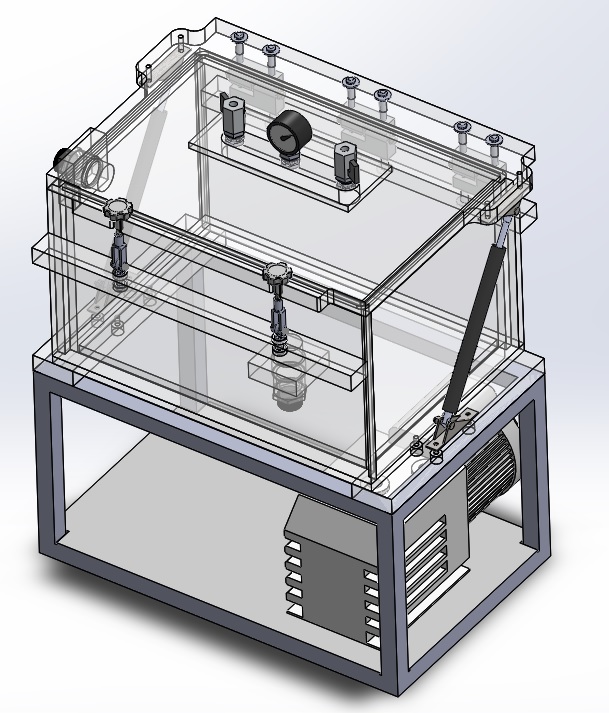
For this setup you will simply need an acrylic vacuum chamber, a vacuum pump, and connection hardware to connect the vacuum chamber to your pump. You will also need some basic understanding on how to operate vacuum chamber with pump. Preferably, you should have a pre-defined test protocol on what you will be looking for, where you will be inspecting for the dye, the number of bottles you will test, and your batch rejection criteria.
Similar Items
Our clients prefer to work with us because we are Experts in Vacuum Science and Technology. What are you building? Take a look at the links below and discover some of the cool things we make.