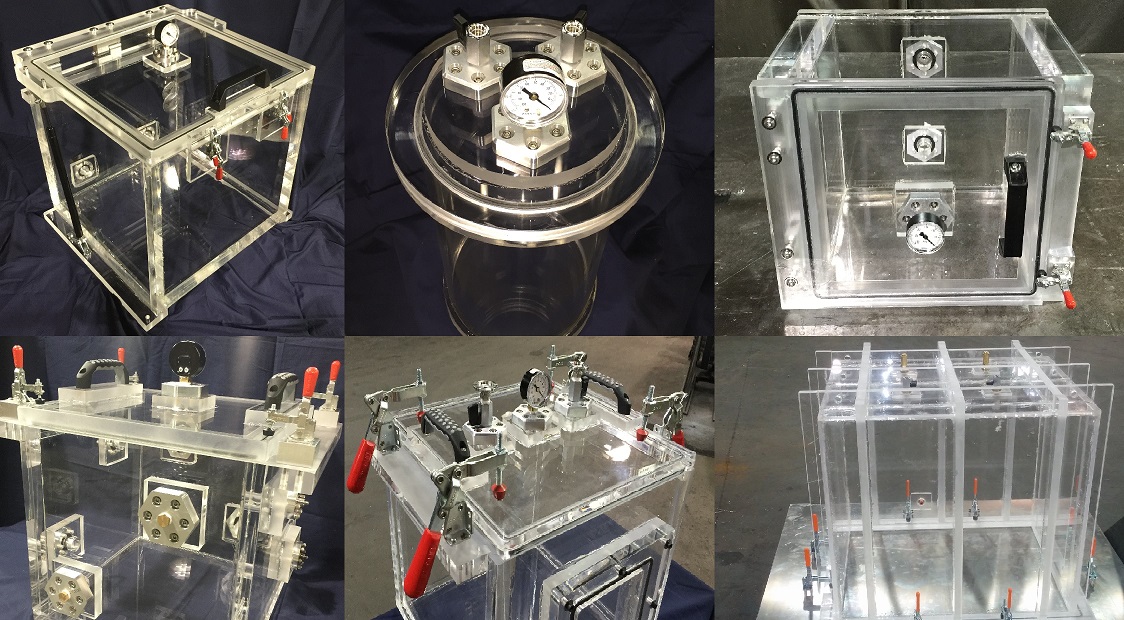
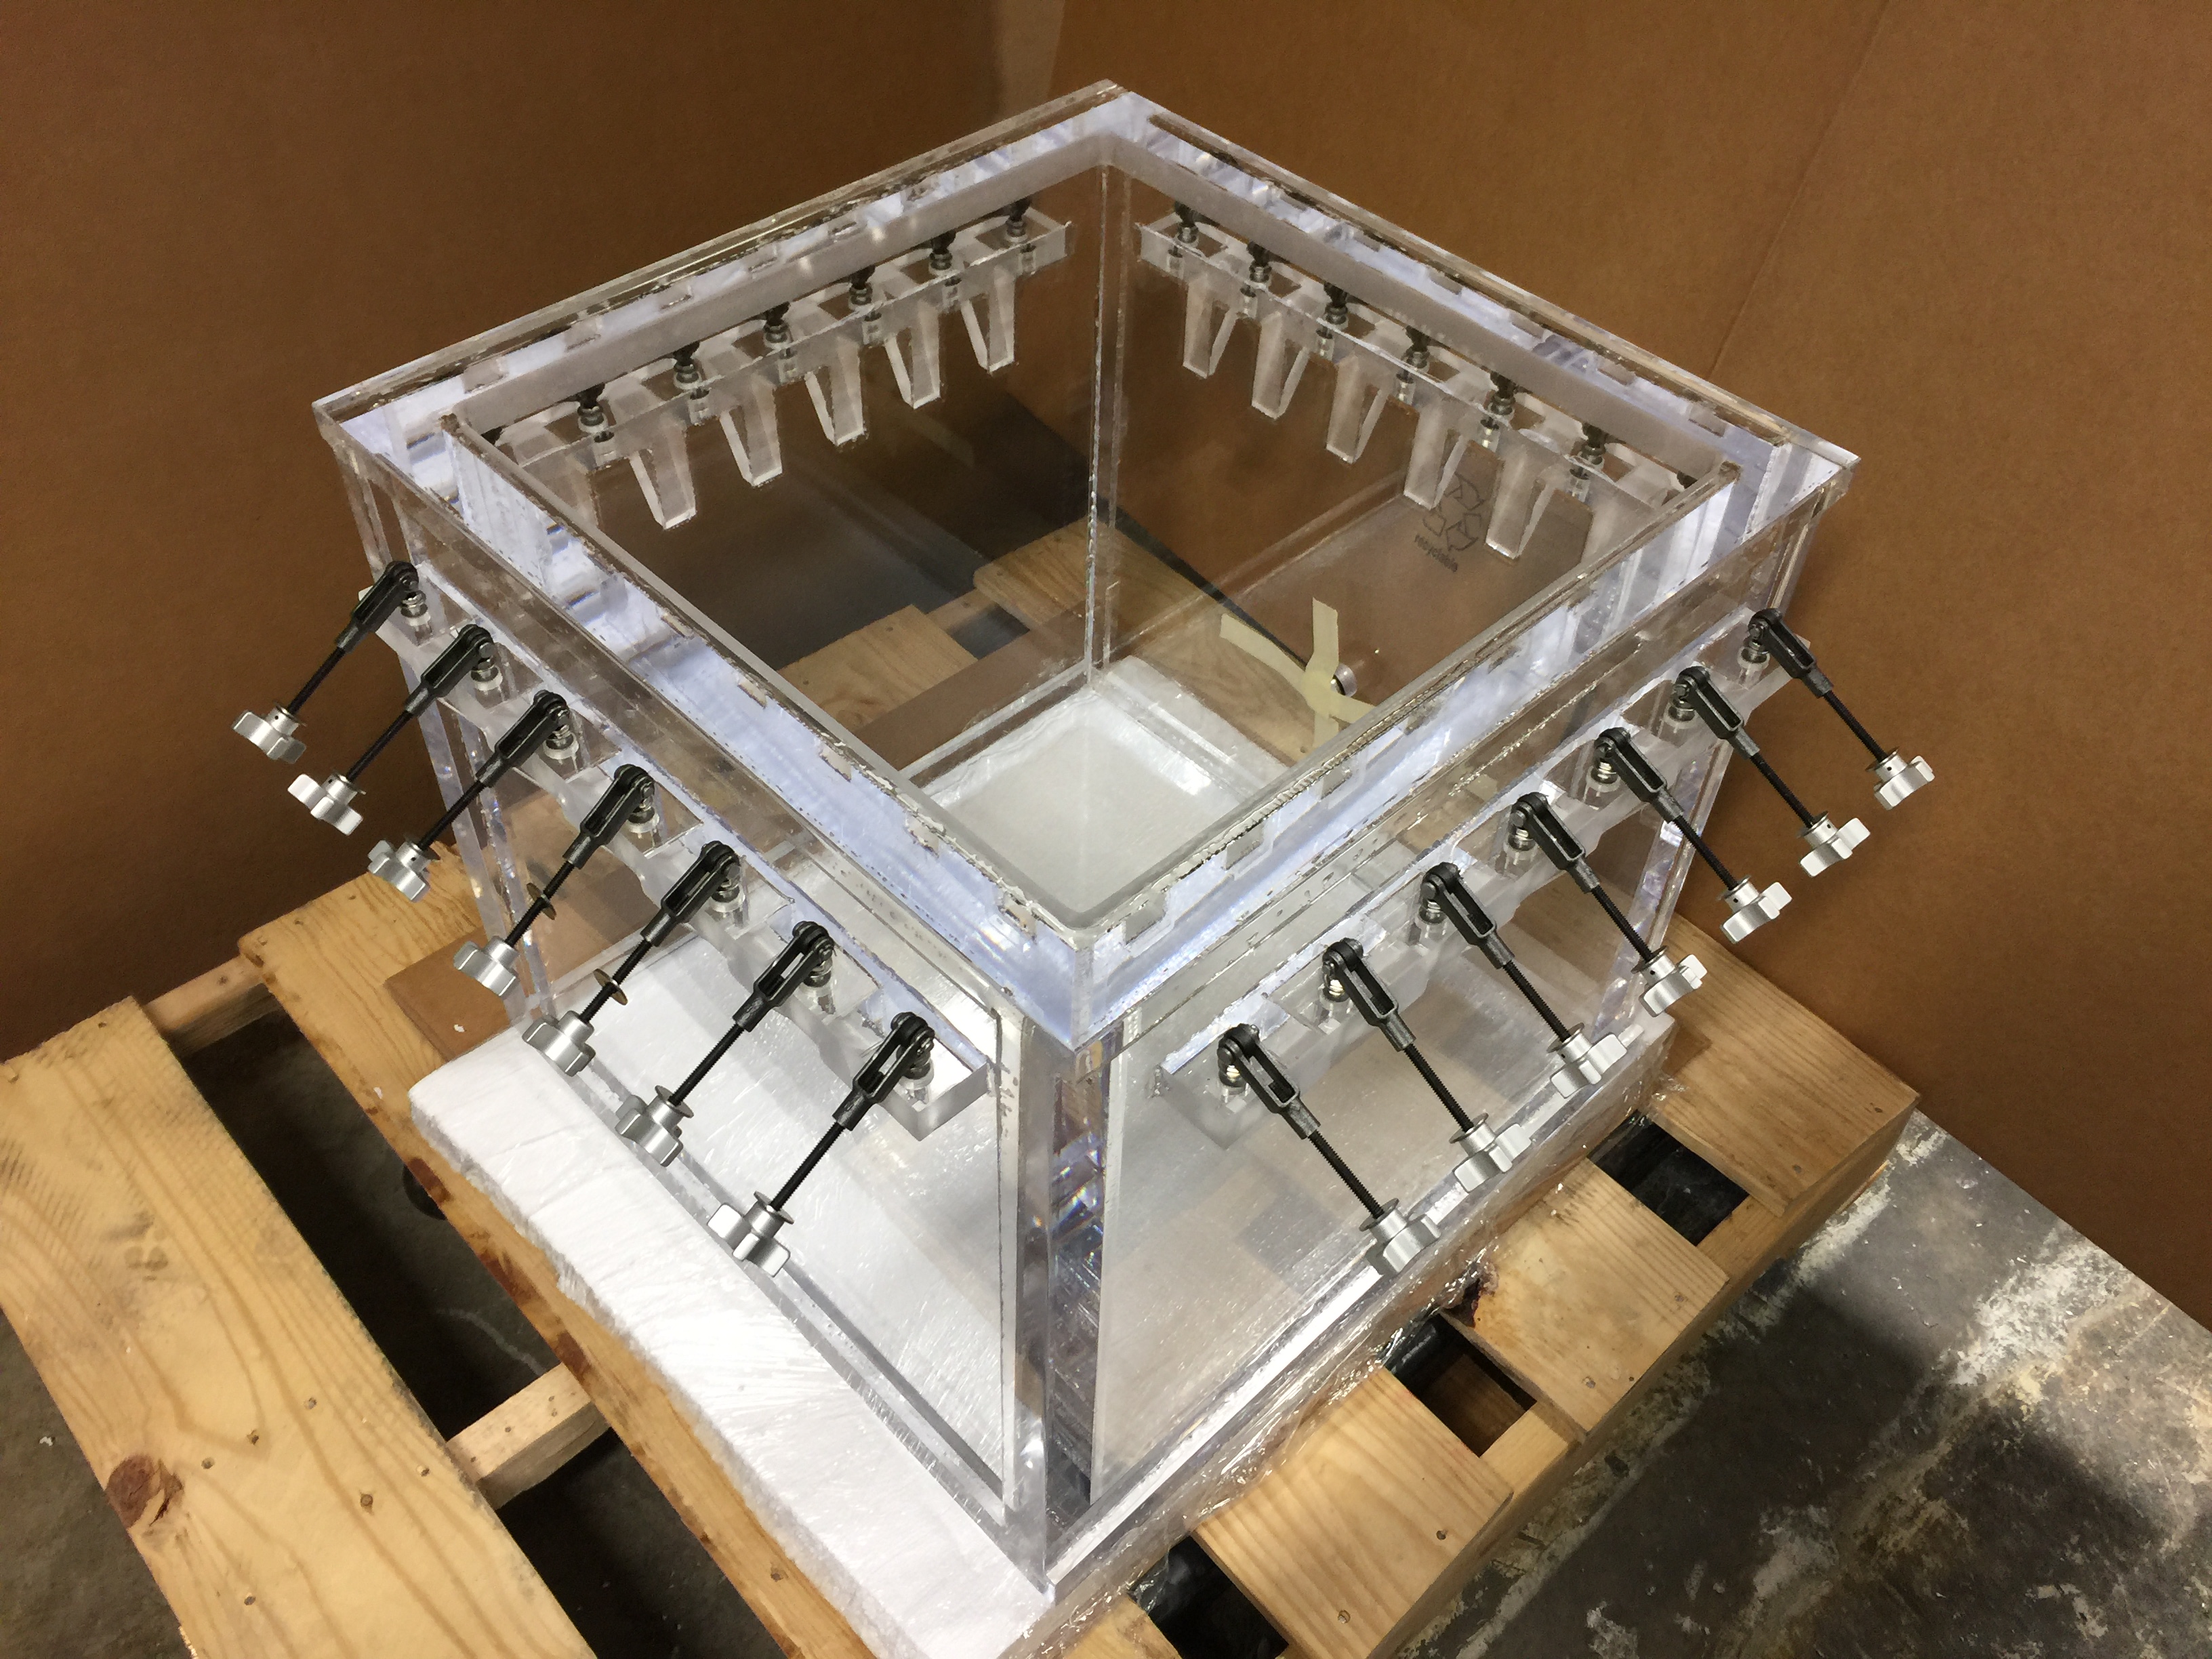
Clear Acrylic Vacuum Pressure Chamber

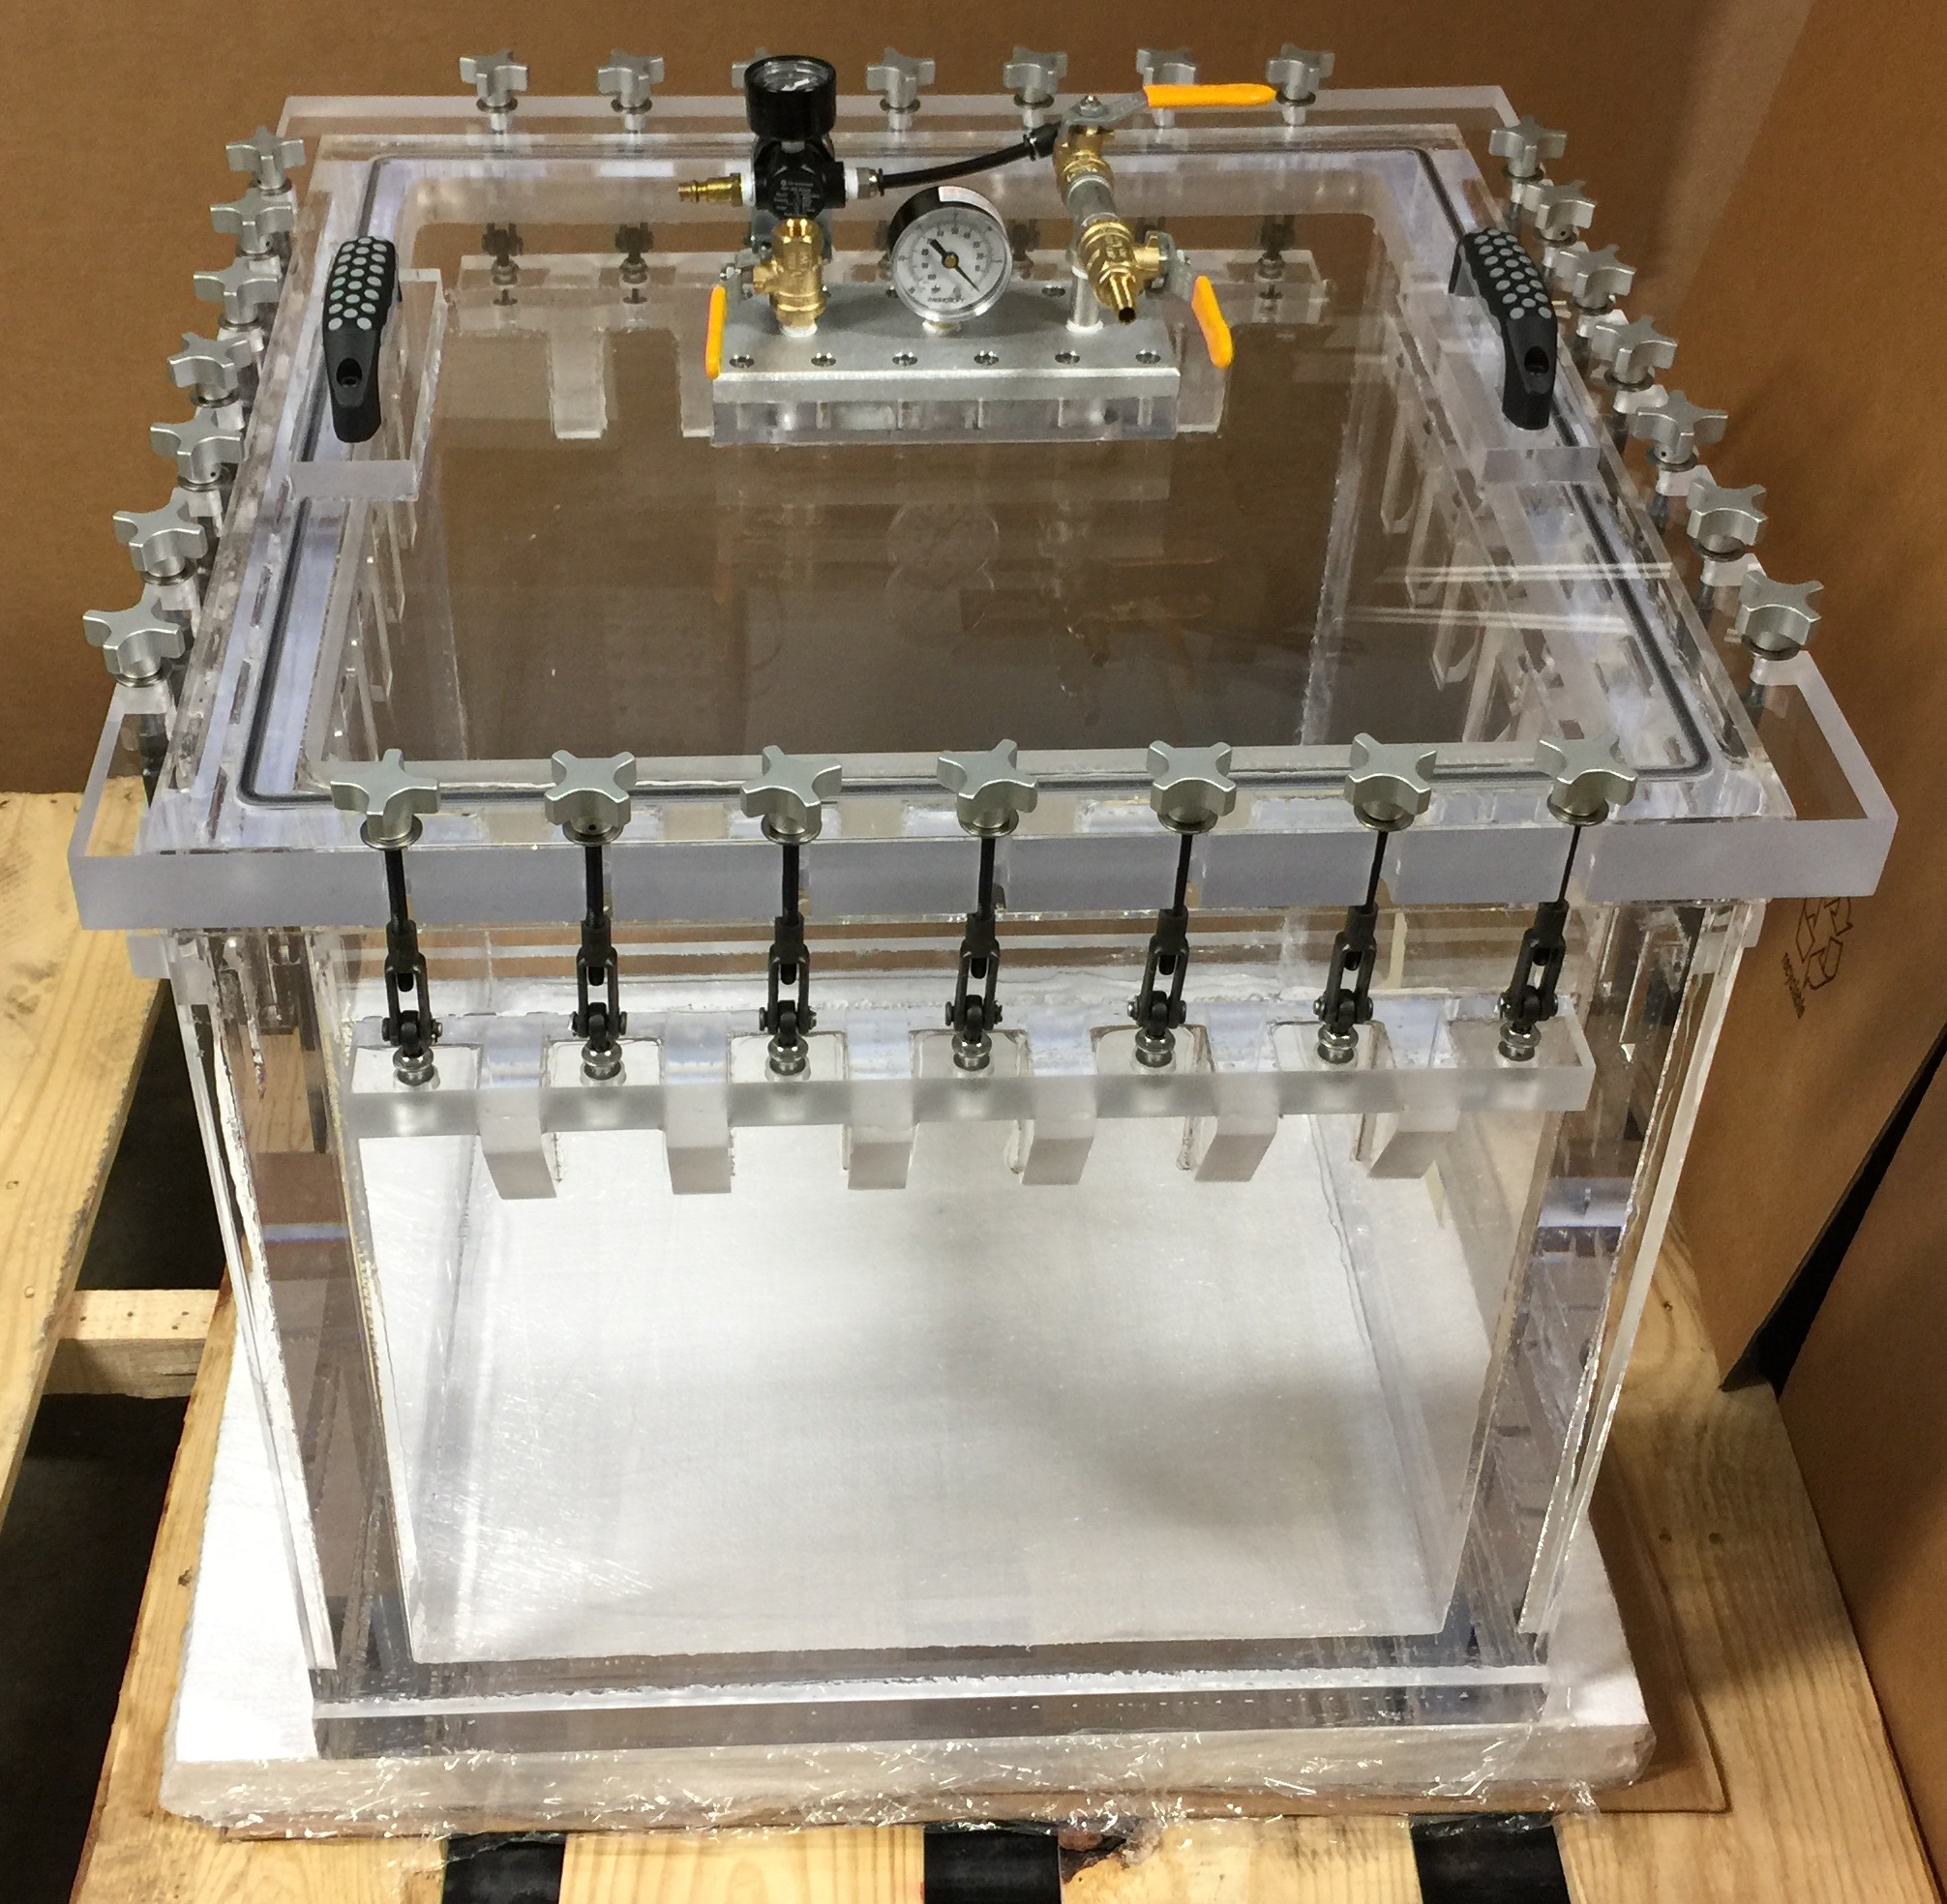
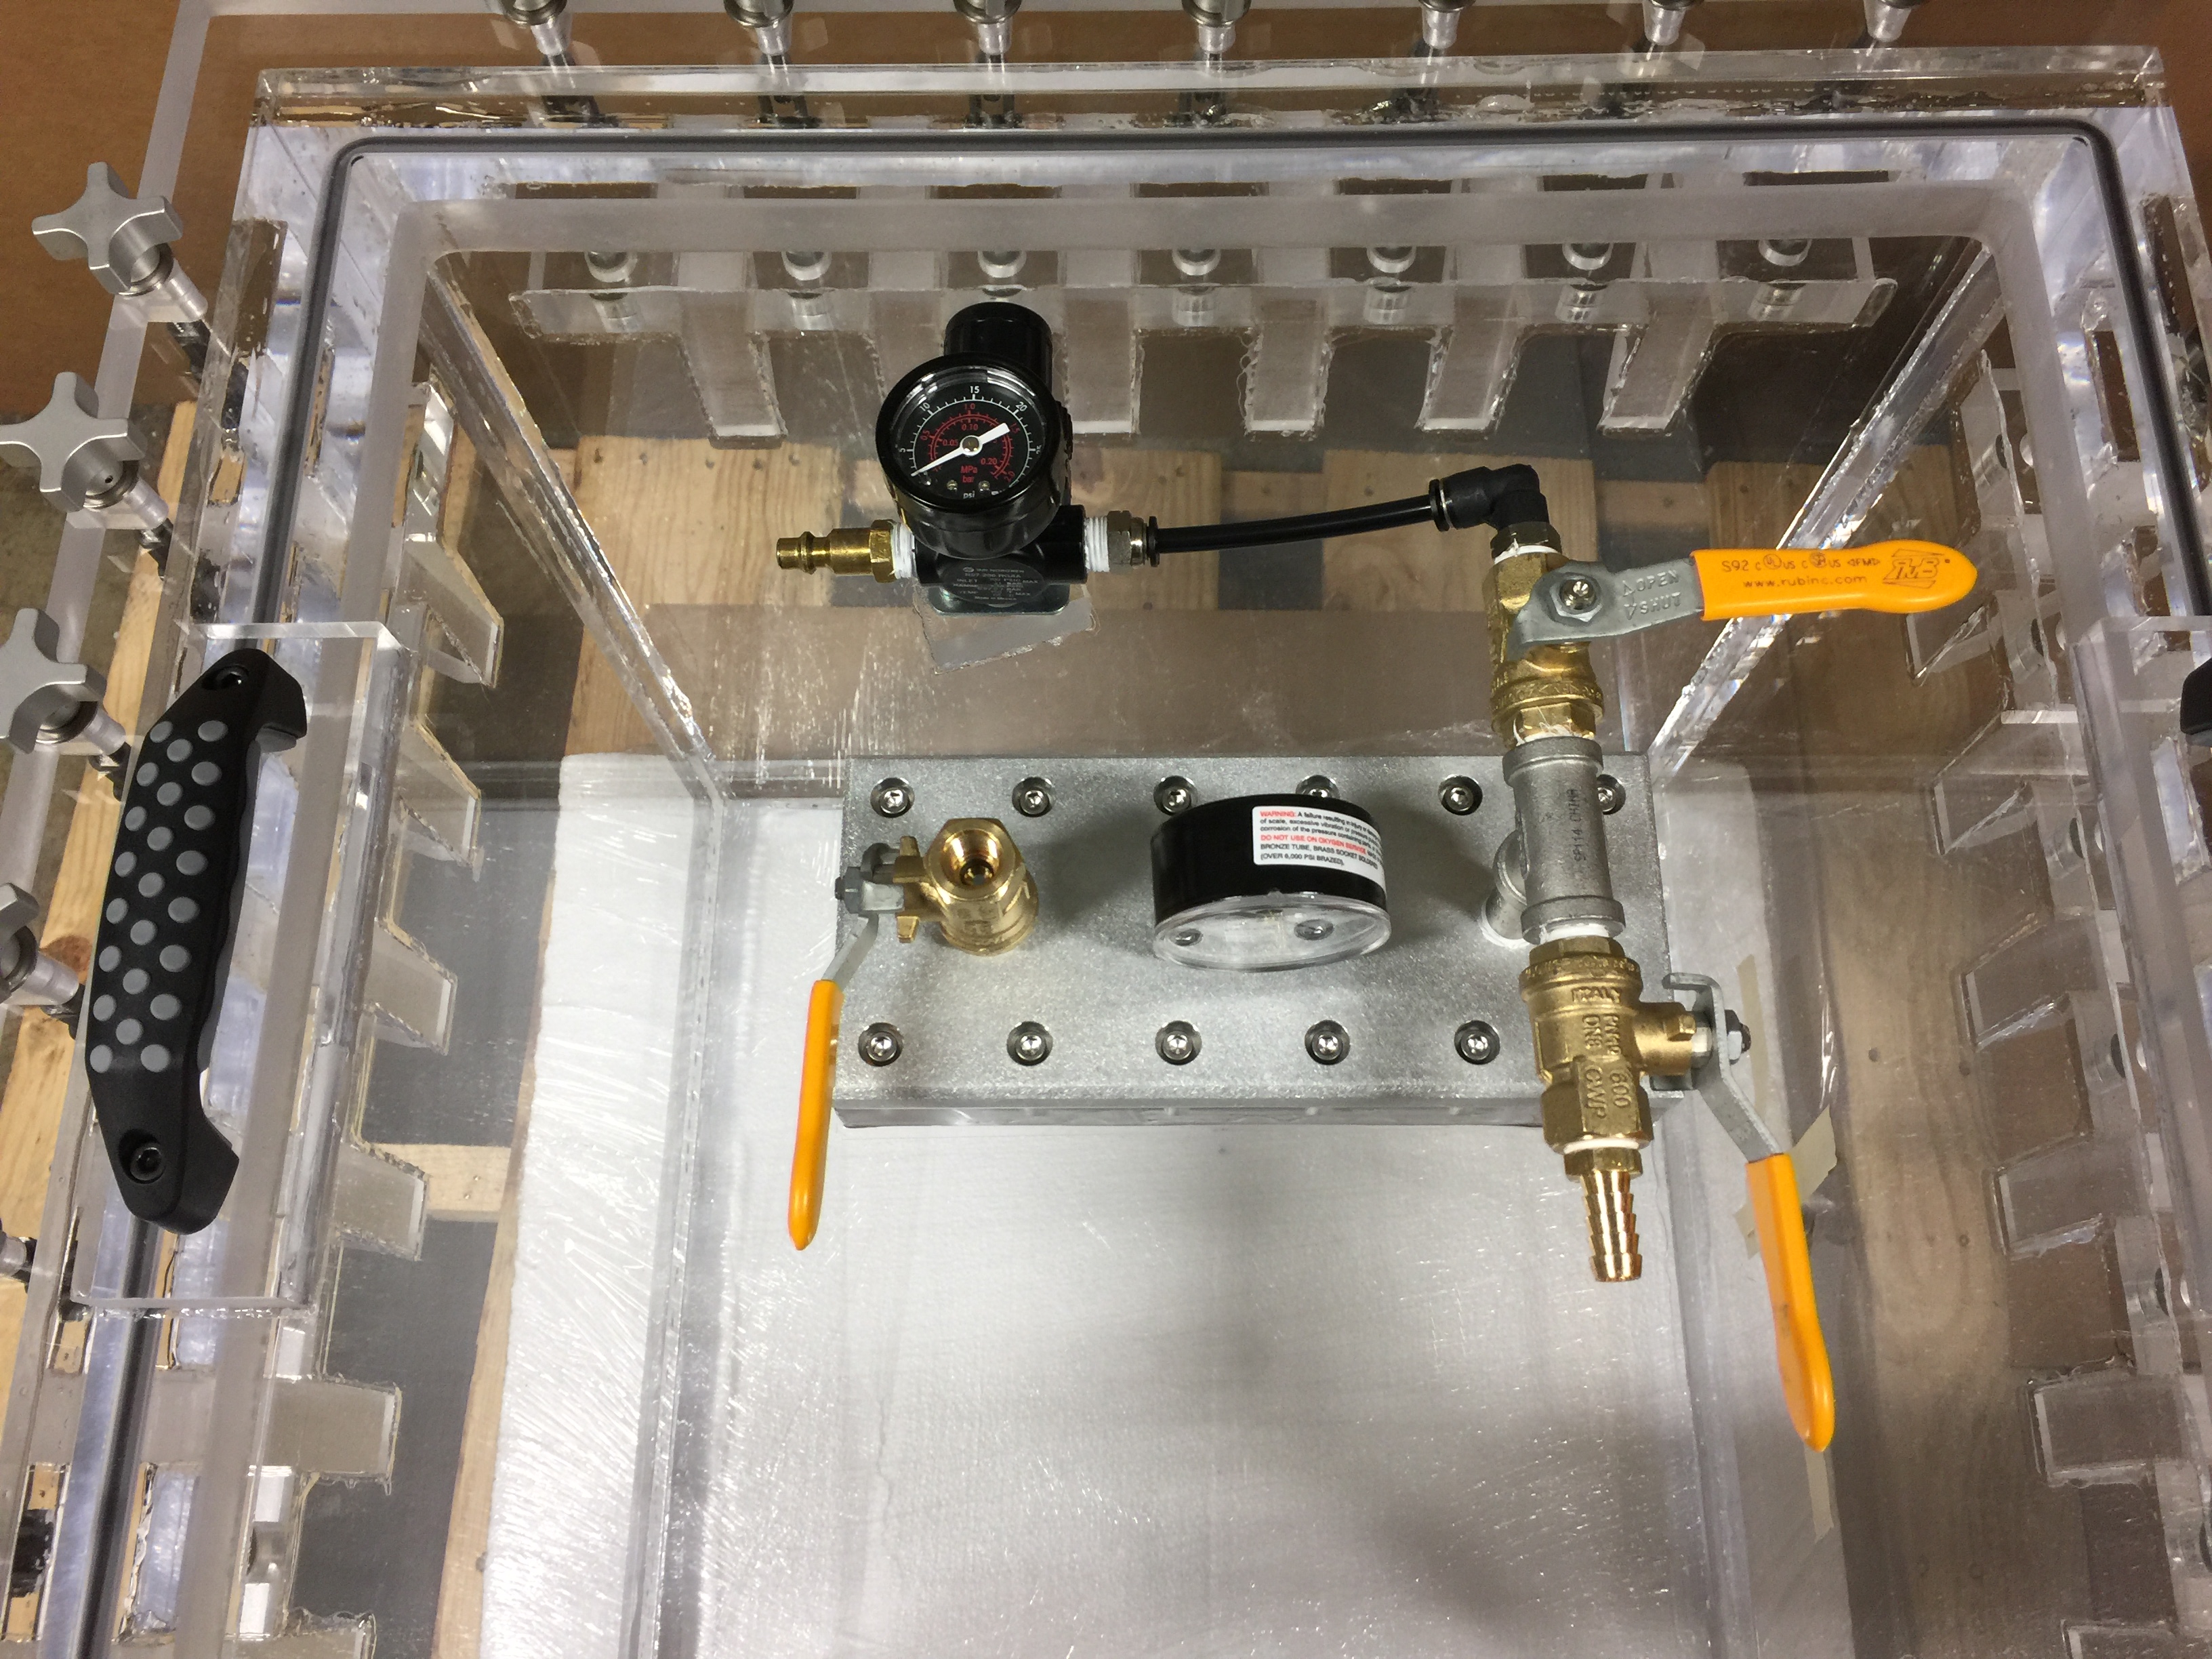
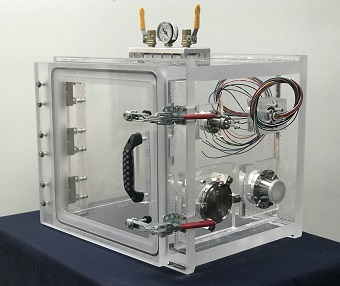
This is your acrylic vacuum and pressure chamber. And as you can see, its has two handles, its has 27 of these thumb screws which clamp the lid when you pressurize the chamber. It has a pressure regulator, a vent valve, a vacuum pressure valve, and a pressure valve, and course a vacuum gauge.
So the operation is really simple what you need to do is you need to open this valve to vent any pressure or vacuum that is already in the chamber and when you are ready to go. Then, the first thing that you want to do is to close the venting valve. Then, we are going to start with vacuum first and what you need to do is you need to close your pressure valve and only leave your vacuum valve open.
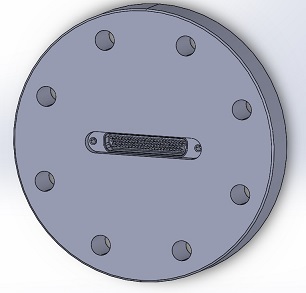
Also keep in mind, that you have your hole, that 30mm hole that you requested, this is on that wall over there. So this is it, when you are pulling vacuum, you will not need these clamps you can just leave them open if you want, but for demonstration purposes, I figure I start with the clamps on.
Let me go ahead and connect your vacuum pump now and well pull a vacuum on this one.
Ok so, this is the setup with the vacuum pump connected by a reinforced hose into the vacuum valve. In order to start drawing vacuum on your vacuum chamber, what you have to make sure is that the venting valve is closed and your pressure valve is closed and only your vacuum valve is open. Also, this hole here, right here, this guy, also have to be closed. We are just using simple tape, masking tape to close this; we will give you this piece, you can have it for free.
Before you turn your pump on two things you always have to check. First thing here is the oil level - you always want to make sure that you have plenty of oil and we are good we are right within the oil level. And the second thing, make sure that this switch right here is set to 220 V which is your voltage. We have it at 110 because we are powering it here at 110 Volt but please make sure you have it at 220 Volts.
So, without further ado, just flip the on button, and at this point you will see your vacuum rising, and you don't have to have these clamps on because the weight of the lid will provide sufficient compression force on the O-ring to do that.
So that is that, lets get somewhere lets say 50 kPa, the vacuum has already pulled the blank off in. Lets get to -50 kPa, there we go. When you reach your desired vacuum level, you can close your vacuum valve, turn your vacuum pump off, and its going to be a very steady vacuum. This chamber does not loose much vacuum. This is going to hold your vacuum steady for a very long time. There it is under vacuum. Now, to release the vacuum so that you can pull the lid up, all you have to do is lift this valve, right here, and its going to open it. Ok, lets move onto pressure, let me show you what you need to do to pressurize your chamber.
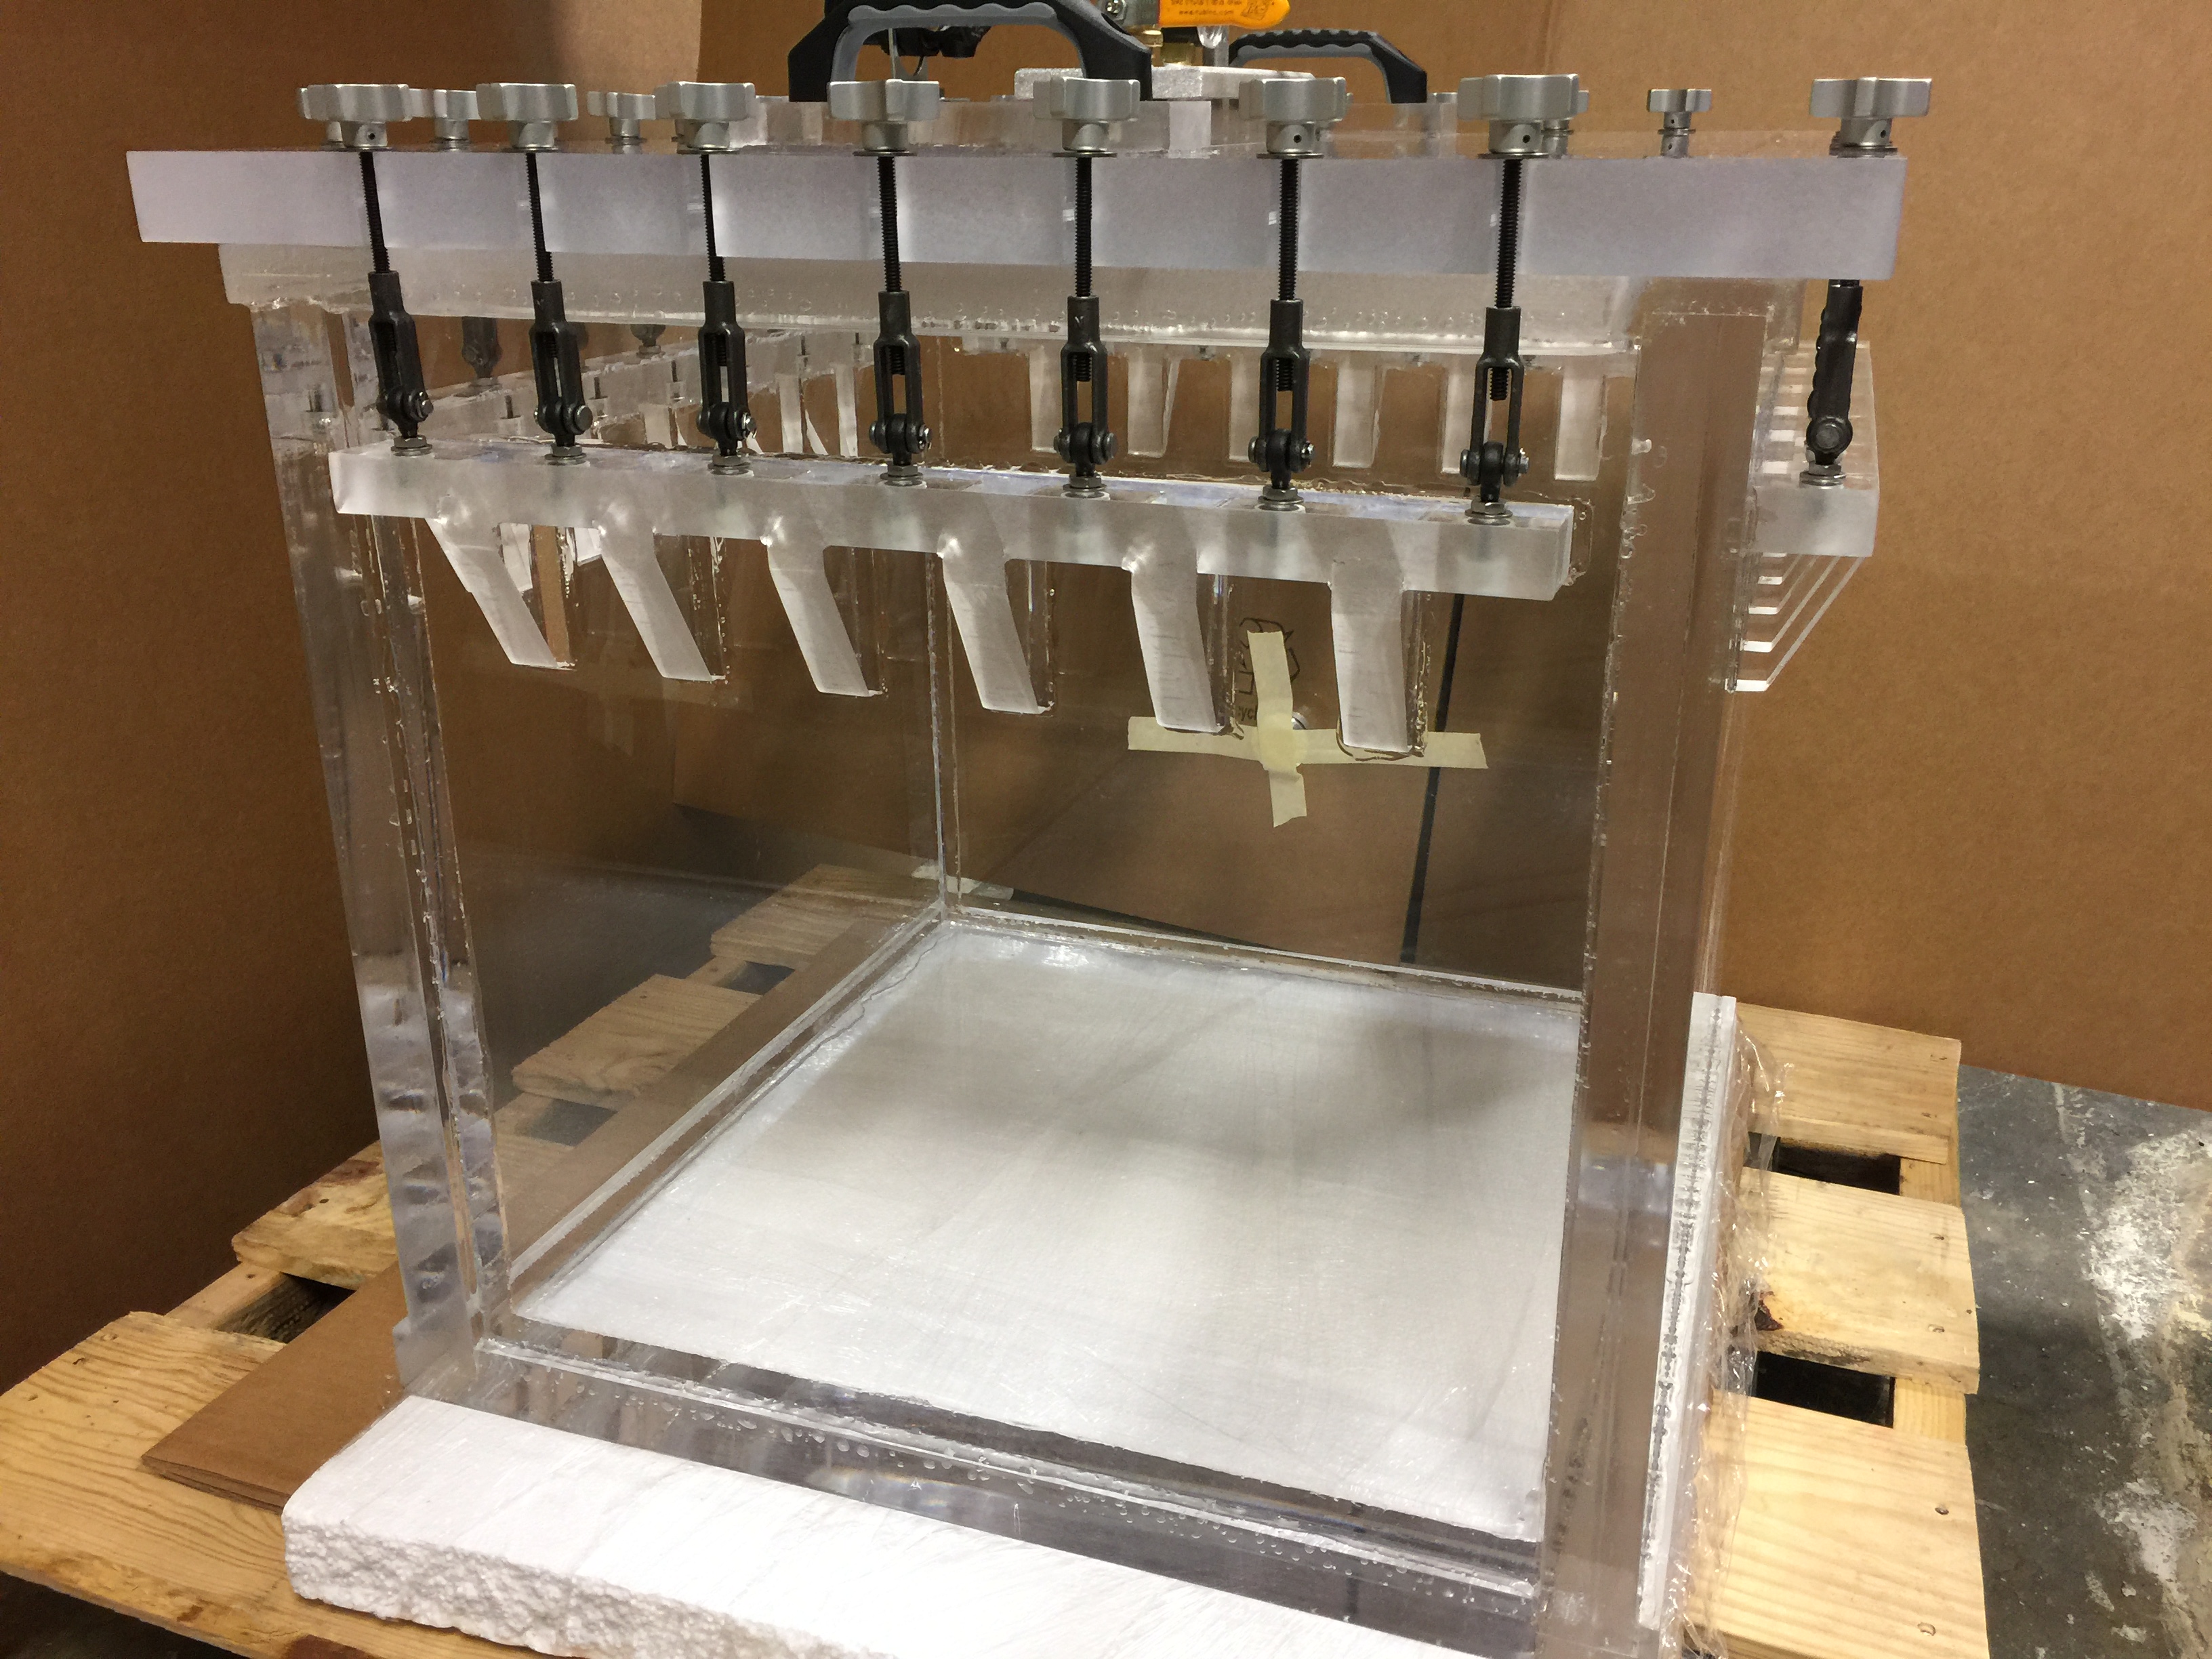
So here is the pressure setup. So when you are going to pressurize you chamber you have to make sure that all these are hand tightened. You are not going to need to hand tighten them much, as long as these are somewhat hand tightened, you should be good to go. You will know this, if they are not too well tightened, you are going to hear a leak coming from somewhere. And the way you know that these are well tightened is that you will see this dark line on your O-Ring, so you that there is some compression there. You also have to remember that now we have this piece on the inside, that is because that pressure will be pushing this piece against the inside wall. Really simple right now, we are set to about 2 psi, please don't change that, don't go higher, this was rated to 1.5psi and during our tests we went to 2 psi and more, but please do not go above 2 psi. So all you have to have to do is make sure that your venting valve is not closed and your vacuum valve is now closed and now all you have to do is open your pressure valve.
You will notice that the pressure drops because we have pressure going in from here into the chamber. I'm not sure if can here it or not (the air flowing), but this dial will slowly rise, until we get to 2 psi. This is what we have it set to. Let me prove to you that you do have pressure and I will show you how. When I press on this one, you can hear that there is air coming out. So, you just have give it some time until you have reached 2 psi.
To release the pressure, all you have to do is open the vent valve, here we go. And the pressure is released. Thank you very much and contact us if you have any questions, bye.
Video of this Clear Acrylic Vacuum Pressure Chamber


Similar Items
We are an Engineering Excellence Company. There is a tremendous amount of valuable resources and information regarding vacuum systems and vacuum technology; check them out by clicking on the links below.

Complete List of Articles Related to Acrylic Vacuum Chambers